O.P.I. and Michelle nail polish at *Scape flea

Labels: , , , , ,

My trips to flea market paid off. 410 for O.P.I. nail polishes?! Super savings man!
So here's a little test out for your guys to check it out.

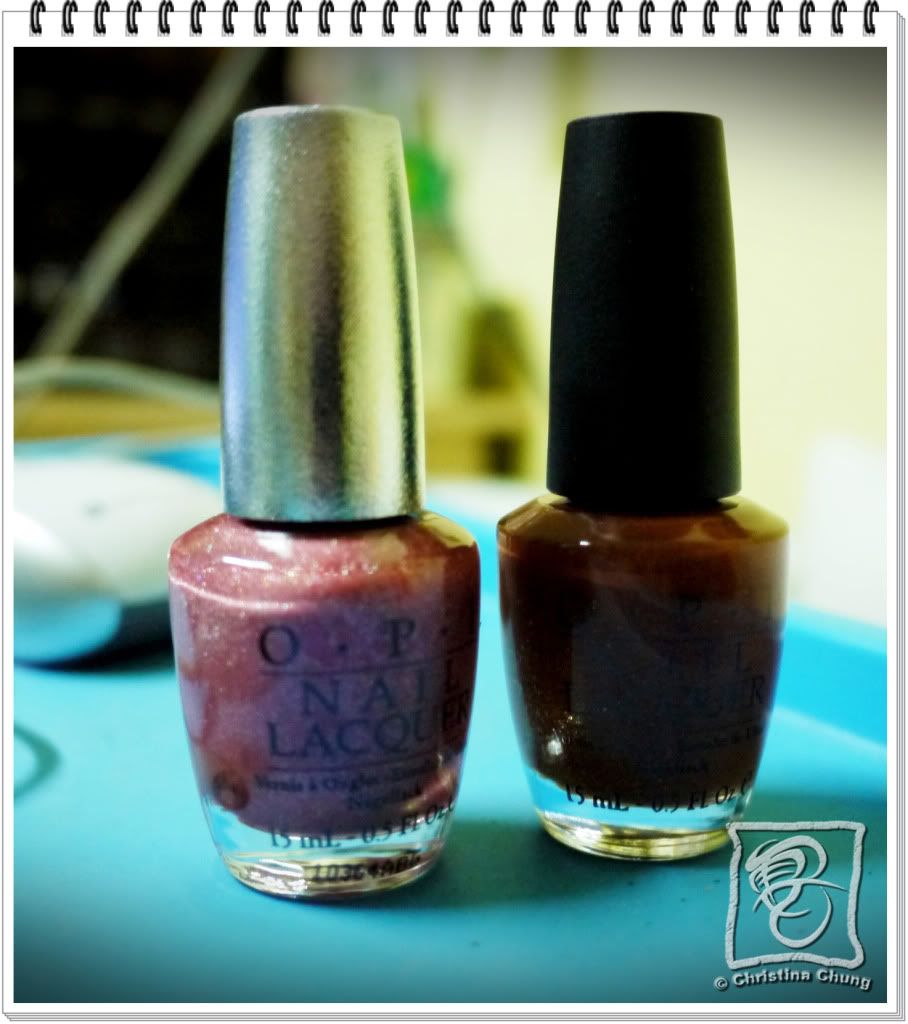
Pink's one called "DS Reserve" and the other's "Bronzed to Perfection"

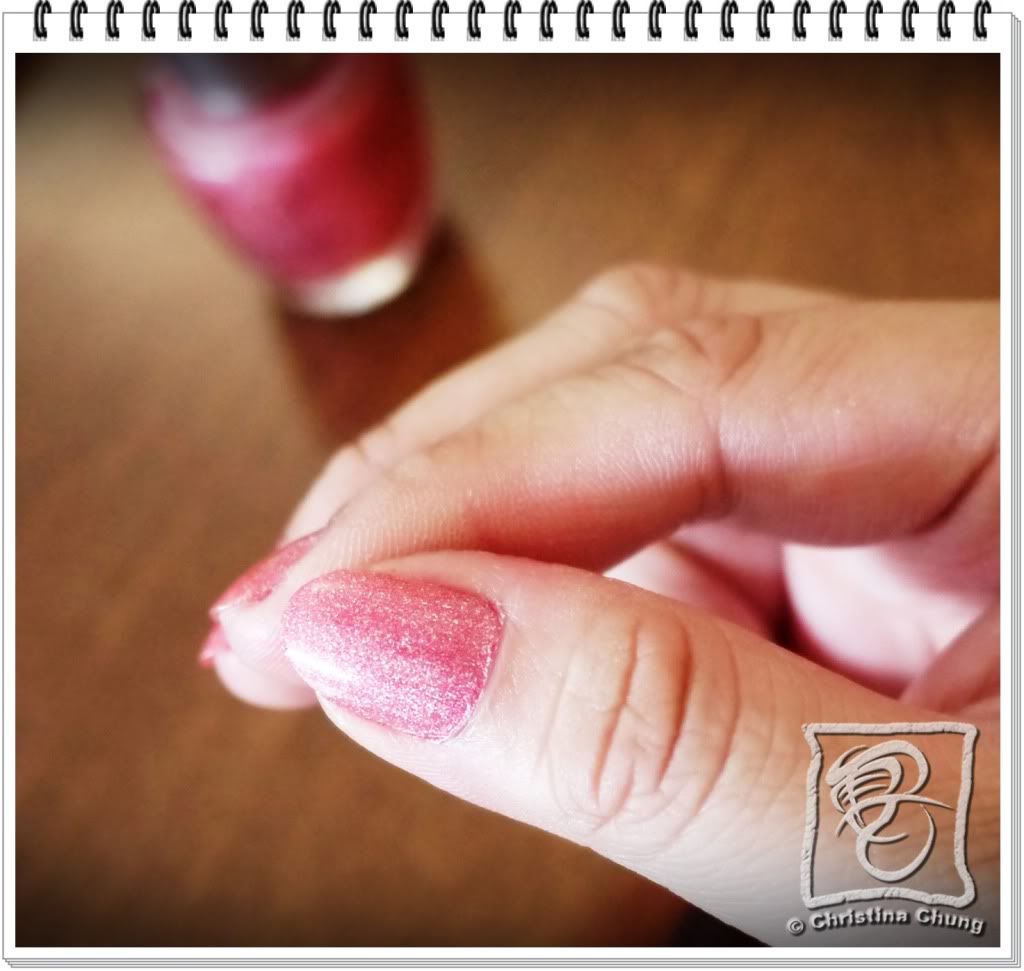
It's a very sweet pink with silver pigments and it's almost holographic.
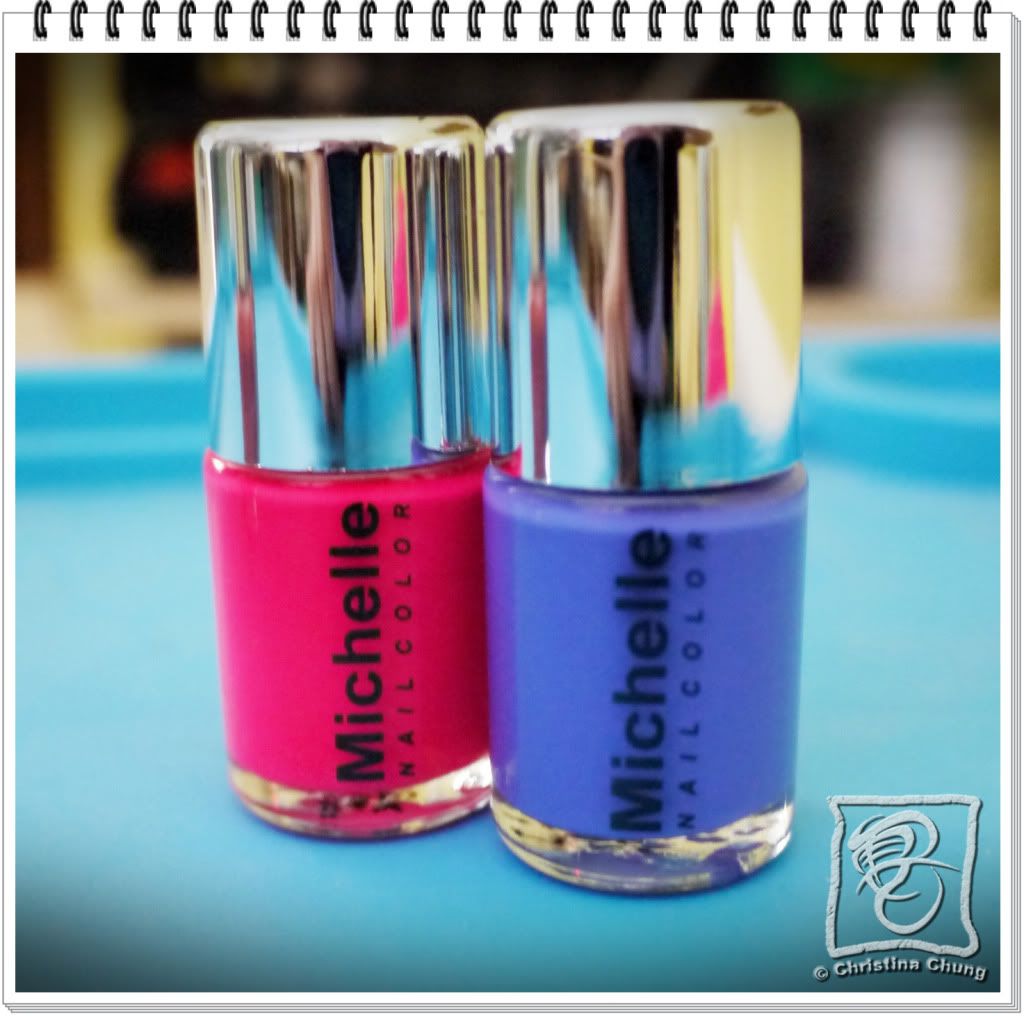
This is from Beadstreet. Shocking pink and Lavender nail polish.

Don't you just love the combi?! I picked out these 2 colours, coz I don't have them and shocking pink?! So rare man! The nail polish is amazing. With just 2 layers, the nail colour all full up! Just a problem with them brush, it's super spread out, quite difficult to apply on small pinky nails without smudging on the skin around nails. Other than that I'm super fine with it, especially at $2.90 per bottle and $4 for 2 bottles!


XOXO,
Christina aka Huney

Storing my Nail Polishes

Labels: ,

A lot of you would have known last week I was packing my mountains of nail polishes and I must admit I've been dragging my feet and when I do wana use them, I have to rampage through the pile to get the colour that I want. Sometimes, I would even find nail polishes at other designated places. You can say they were appearing "mysteriously" at every part of the house.

So over the months, this shopaholic has stocked up on nail polishes, but always can't find her nail polishes. And enough is enough, she decided to pack them nicely, so that she can focus on her nail art.

I threw everything on the bed and arranged them according to brand and bottle size.
I didn't know I had so many nail polishes until that day.
Let me share this little tip with you guys when packing your nail polishes. Don't just start putting them back in the drawers and when you need them, you keep picking up and putting back the nail polishes, just to find the colour that you want.

I know this is a little crazy, but trust me, you won't regret doing it.

So first, grab your nail polish.
Pick up some nail polish with your cotton bud. * Just a drop will do.
Then, dab a dot of the colour on the top of the nail polish cover.
This is what you get at the end of the day.
And if you have a dark coloured nail polish with black cover or a translucent nail colour, just dab white nail polish before dabbing the nail colour.
Why go through all this trouble?

Coz at the end of the day, not only are your nail polishes arranged nicely, you can find the colour that you want in seconds.
I had too many nail polishes, so I needed a second level as well. And I packed my nail polish set together too.

Can you find the orange nail polish?

So, now you have a nicely packed nail polish drawer, all you got to do is remember where you took the nail polish and ALWAYS put it back where you got it from.

Hope this helps you guys! If you have another way of storing your nail polishes, share it here ya? And if you like my idea, don't forget to tweet and tell your girl friends all about it!


XOXO,
Christina aka Huney

Forever 21 Party

Labels: , , ,

Recently, there was a party held by Forever 21 and I was invited by HEAT Branding to attend the event. It was more of a mingling affair, chatting and drinks. But before I went to the party, I took the chance to check the new Forever 21 store out. It's right at Orchard MRT, where POPULAR used to be.


Photos were not aloowed to be taken inside the shop, so I could only take the outside. But the store was big and I must say it's on par with the one at 313@Somerset. I got some pretty clothes and made my way to the party.

The party's at Stereolounge.
Always love looking at the hotel's entrance.
Party shots.
DJ's music was uber cool that night.

Forever 21 posters were on screen everywhere.
Ok, enough with the introductions, let me show ya my makeup and accessories.

Wore my new big big contact lens.
I had a silver to purple eyeshadow look, super long eyelashes and used a teal eyeliner pencil on the lower lid.
Bun up my hair and I'm all set for the party!
The earrings are self made. 
Looks like I can set up shop already right?
A closer look at the parts.
I even did my nails for the party. Not only was there a F21 logo, I even had necklaces and earrings on  2nd and 4th nail. Big pink crowns for the thumbs!
See anything that you like and wana ask for more details? Feel free to drop comments, FB me, or tweet me. Would love to hear your views...

XOXO,
Christina aka Huney

[Makeup Tutorial] New products at Etude House

Labels: , , , ,

So, I was in town recently and I bought quite a bit of things. Let me share the joy!

First up, Princess 3D Mask. It comes in 5 "flavours": Honey & Milk (Orange - Egypt's Cleopatra Secret Beauty Tip), Lychee (Red - China's Poppy Secret Beauty Tip), Cherry Blossom (Pink - Japanese Royal Family Secret Beauty Tip), Red Wine (Purple - France's Marie Antoinette Secret Beauty Tip) and Ginseng (Yellow - Korean's Joseon Dynasty Royal Secret Beauty Tip).

Honey & Milk: Use to improve Moisture and Elasticity.
Lychee: For Nutrition and Brio.
Cherry Blossom: For Vitality, to "refresh" your skin.
Red Wine: Contains Keratin and reduces pores.
Ginseng: As the name says, it contains Ginseng.
Credits: gmarket.com.sg

I look crazy right?
After pulling and tugging the mask snuggly onto my face, this is how it looks.
Why 3D is coz there is this line that fits right to the middle of your face, super easy to fit the mask on. and the best part is that there is a mask sheet that goes from the bottom of the chin to the ears. Ladies with double chin listen up! Tuck the 2 sides tighter to the ears if you wana decrease your double chins!

But one thing to note is to do the mask lying down, coz if you were to be doing the mask while using the computer or watching TV, the 2 chin mask sheets tend to come off, thus losing the effect. REMEMBER THIS!


This is the before and after photos after 1 use. You can see in the "After" picture, my face looks smaller and tighter. I bet after more uses, my face will be much slimmer. :P

NEXT UP, is the latest "Aloha" collection. They have lip colours, eyeshadow, eyeliners, blushers, bronzers and nail colours for this range but I only got the eyeshadow and eyeliner. They are very special and I love them lots. Check it out -->

Pretty packaging right?
The creamy eyeshadow.
Small and dainty, easy to apply.
The "Aloha Glittering Sherbet Eyes" is a creamy eyeshadow that brings the sensation from the sand grains twinkle shiny as if the numerous stars are moved to the beach. There are several ways to apply this to the eye area.
  1. Take an appropriate amount and apply on the lids using the applicator and spread by dabbing your fingers lightly all over your eyes. DO NOT RUB! as you will be removing the eyeshadow and not applying.
  2. Use the applicator and dab just a little on your inner corner of eyes to brighten up your eyes. Just a small dot would suffice.
  3. Using as an eyeshadow base. After applying all over your lids, before drying up, apply a powder eyeshadow on top to set the colours and make the colours pop. *I would suggest using back a pink or a white shiny eyeshadow for the best effect.

I chose the shimmering pink one and this is how it looks.
The liquid eyeliner, Aloha Color Art Pen.
Love the tip! Allows me to draw the perfect eyeliner in one stroke!
Check out the purple!
Ok! I know alot of you out there stick to black or brown eyeliners. But I'm a gril who loves colour, let me tell you colour eyeliner not only enhance your eye makeup, but also gives others a fresher feel when they look at you. Imagine, seeing 1001 girls on the street in black and brown eyeliners, when you wear a coloured eyeliner out, wouldn't you get all the attention? LOL!

But one thing to note: DO NOT clash the colours of eyeliner and eyeshadow. Use colours that complement each other. See the pictures below and you will understand what I mean.

This is a look using purely the eyeshadow and eyeliner mentioned.
Love those eyes don't you? Eyelashes from Etude House too.
I had the pink eyeshadow on my eye lids and lined my eyes with the purple eyeliner.
Then I also lined the bottom half lid with the purple eyeliner.  Add on your false lashes and you are  all set to go!
 Ok, so with all these makeup, comes a product that removes eye makeup in seconds! It's called Mascara Remover. Writing can't express how wonderful it is, see my first "speaking" video!


*Please excuse my messy background and notice in the middle I said removed my eyes?! NO! I meant eye makeup... I was so nervous making the video. :P

I hope these reviews are helpful to you guys. Currently, these are my fav products. Do stay tuned for more and post some photos if you got the products after seeing this post k?

P.S.: Don't forget to add me in Facebook and follow me on Twitter!


XOXO,
Christina aka Huney